Last updated November 22, 2026
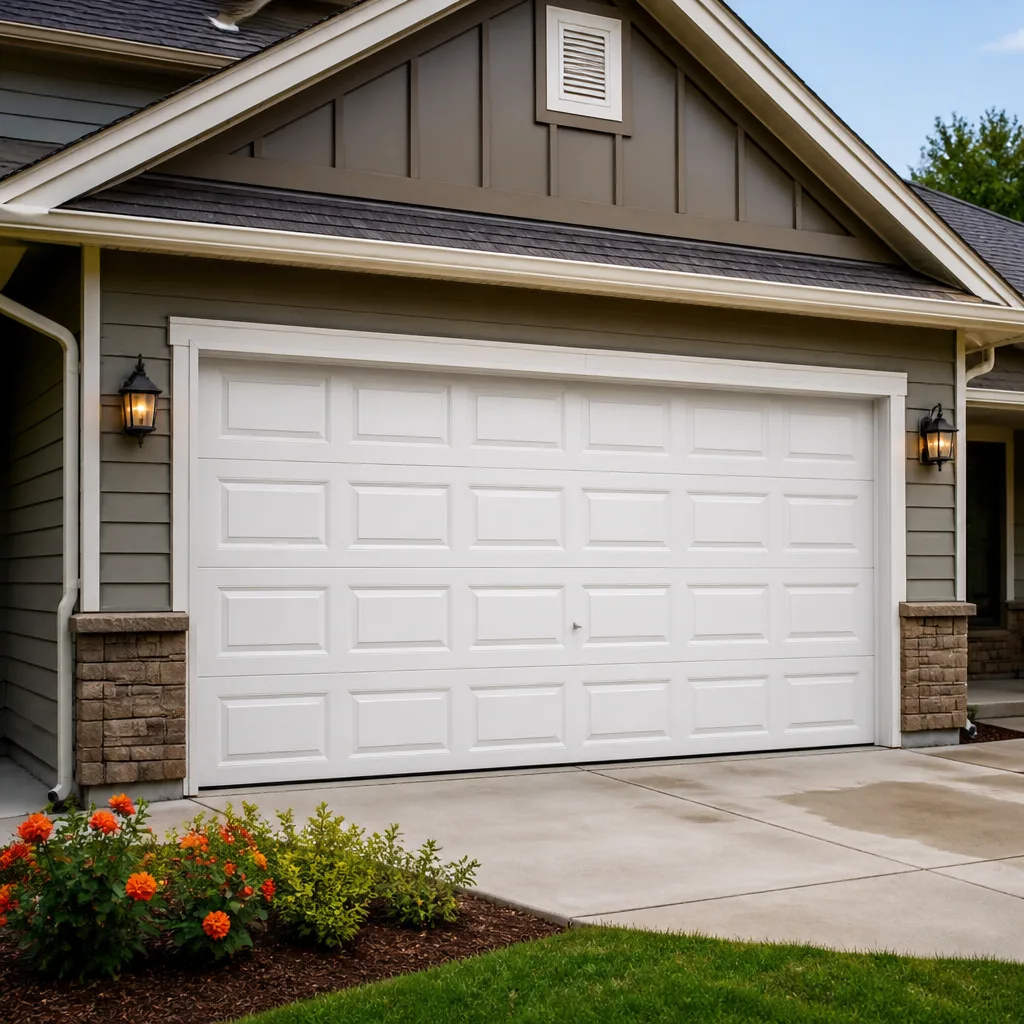 Raised-panel steel
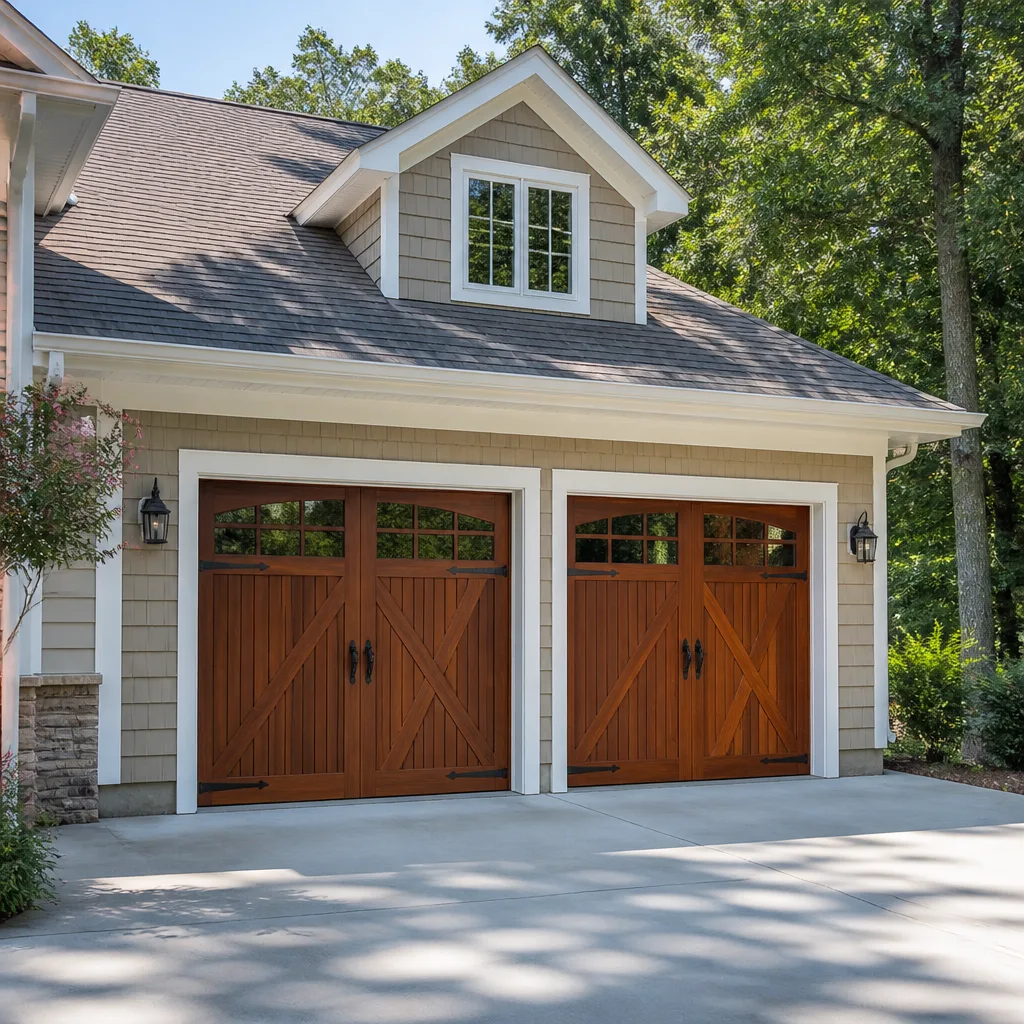 Carriage house
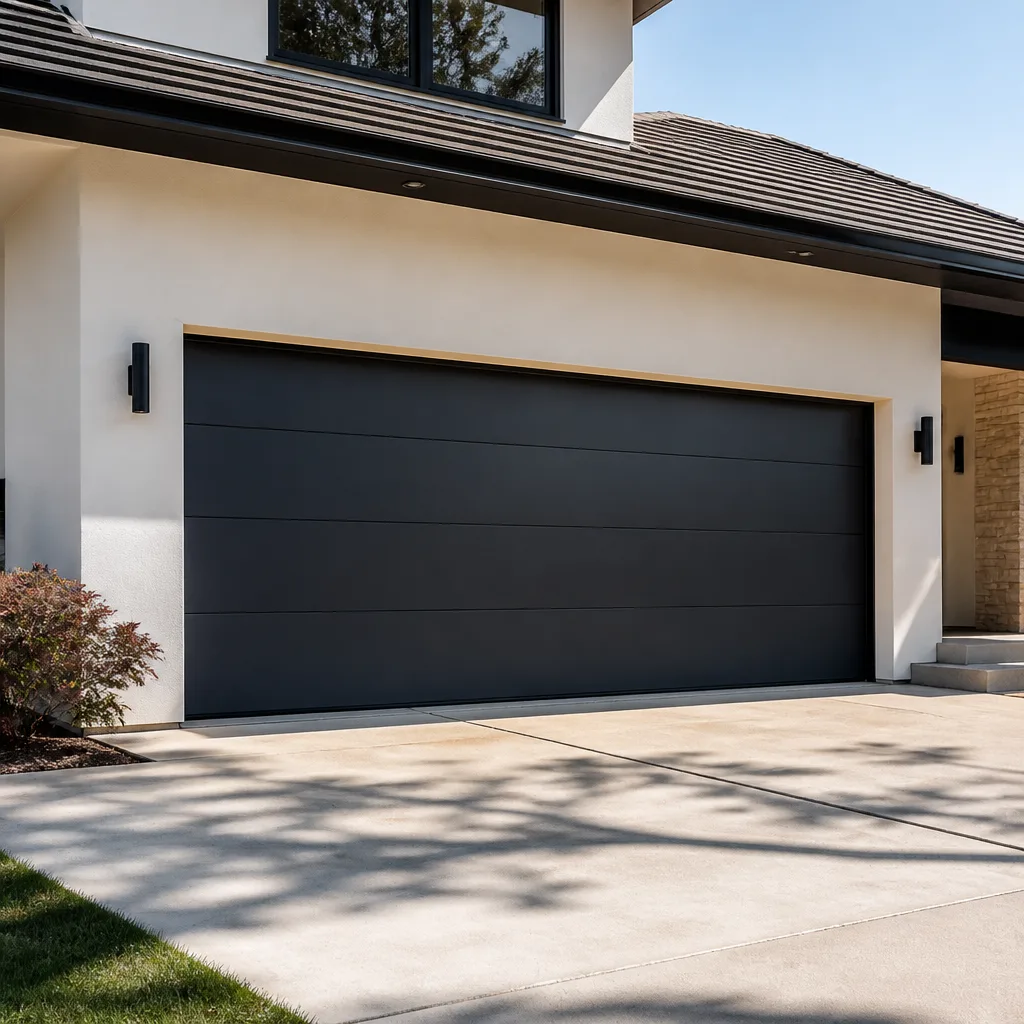 Modern flush
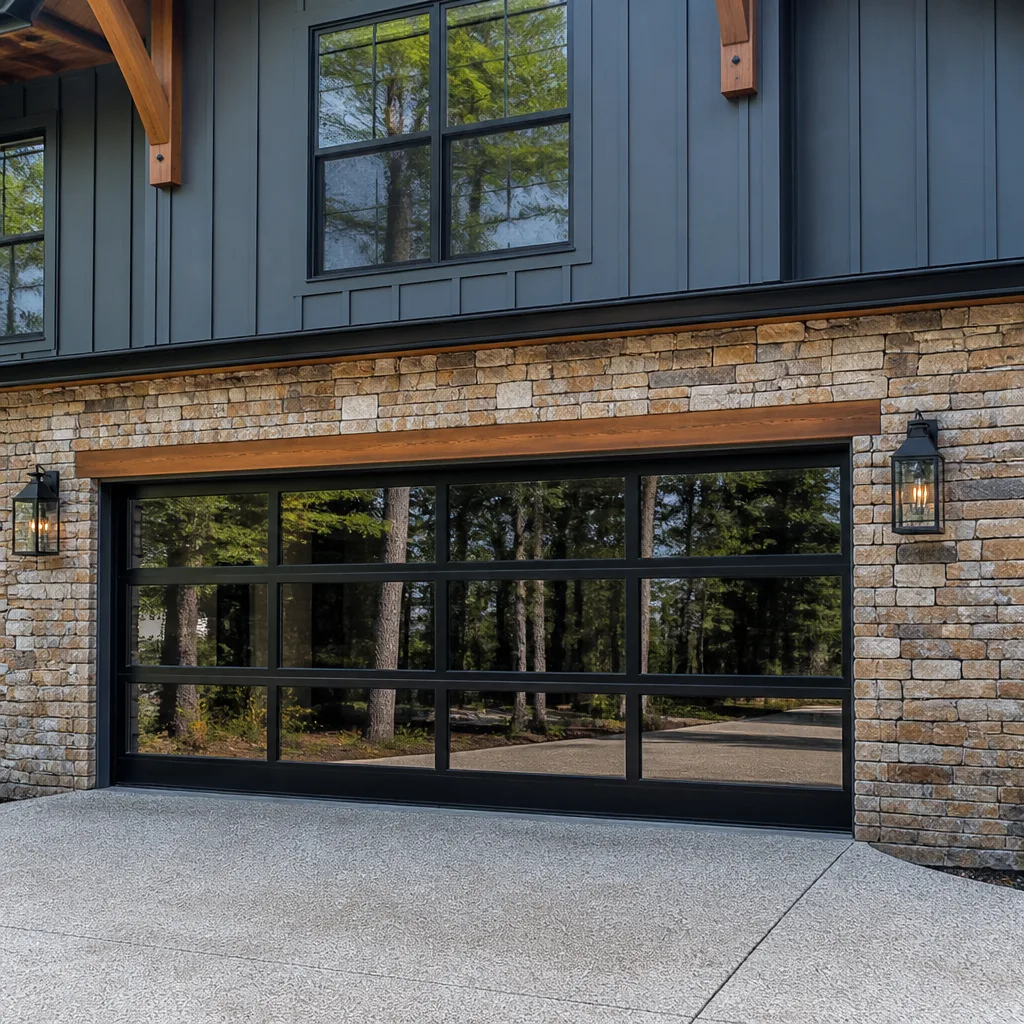 Full-view glass
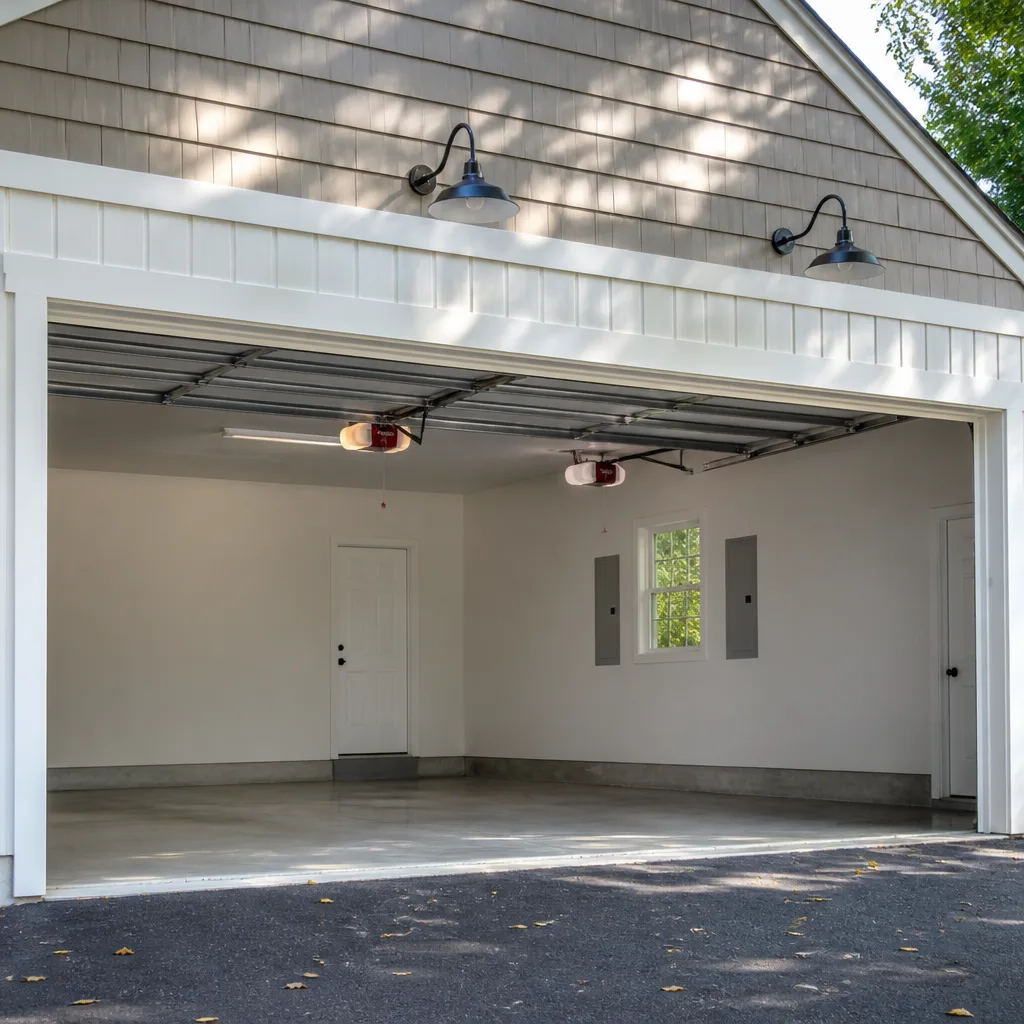 LiftMaster openers
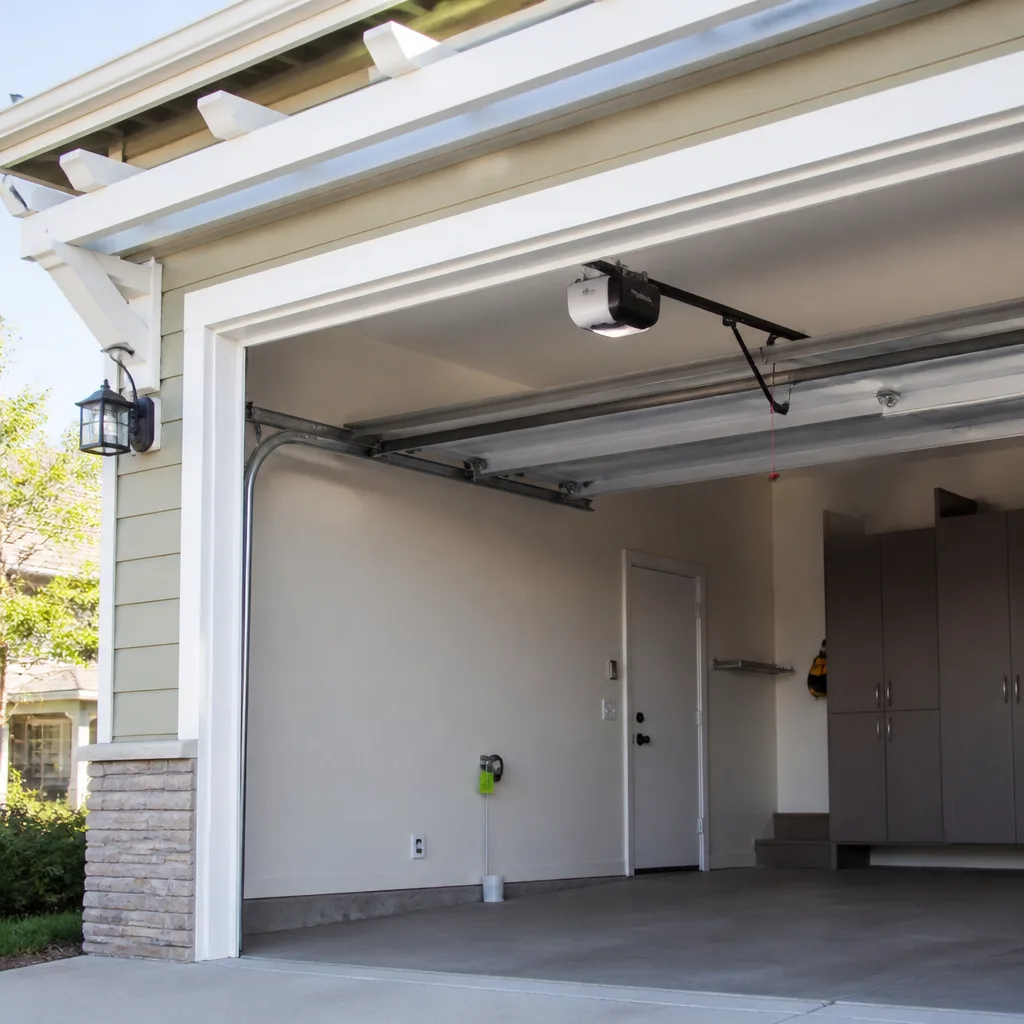 Chamberlain openers
Full 25-point door and opener safety check with every visit - springs, cables, rollers, tracks, and your LiftMaster or Chamberlain opener included
You get a price before we start. It does not change when the pro arrives.
Get your free estimateGarage Door Repair Maintenance Checklist for Spring Hill Homeowners
If you’re lubricating your garage door springs once a year because that’s what the manual says, you’re following a maintenance schedule designed for a climate that doesn’t exist in Hernando County. Manuals are written for a national average. Spring Hill isn’t average. Our humidity sits high for months, our afternoon sun pounds west-facing doors, and the sandy soil that ends up in driveways finds its way onto every moving part. A checklist built for Phoenix or Denver will let a door here corrode and seize long before the annual tune-up comes due. Below is the schedule we actually recommend for Spring Hill homes – realistic intervals, the inspection points that matter here, and the warning signs that mean stop and call.
Styles & brands we work with
- Raised-panel steel
- Carriage house
- Modern flush
- Full-view glass
- LiftMaster openers
- Chamberlain openers
Quick Answer
For a Spring Hill garage door, lubricate springs and hinges every 90 days during the humid summer months and every 6 months the rest of the year, inspect the bottom seal for UV cracking every 6 months, check spring corrosion and cable drum alignment after heavy rain, and have a professional balance and safety-test the whole system once a year. Those intervals are shorter than a national manual because heat, humidity and sun here wear parts faster.
Table of Contents
- Why a Spring Hill Maintenance Schedule Is Different
- The Spring Hill Garage Door Maintenance Checklist
- Which Lubricants Work in Florida Heat (and Which to Avoid)
- Reading Spring Corrosion Before It Fails
- Weatherstripping on West-Facing Doors
- Checking Cable Drum Alignment After Heavy Rain
- What You Should Never Adjust Yourself
- Common Mistakes to Avoid
- When to Call a Professional
- Frequently Asked Questions
Why a Spring Hill Maintenance Schedule Is Different
Garage door manufacturers publish one interval for the whole country. That interval assumes moderate humidity, moderate sun and moderate temperature swings. Spring Hill throws all three out. The air here holds moisture most of the year, and that moisture sits on bare steel – which is exactly what a torsion spring is – until it starts to oxidize. The sun angle in the afternoon hits west-facing doors hard for hours, cooking seals and weatherstripping that would last far longer in a milder climate. And the sandy grit that blows off driveways and lawns works into tracks and rollers, where it mixes with old lubricant and turns into a grinding paste.
None of that means your door is fragile. It means the intervals in the manual are a starting point, not the finish line. A Spring Hill door needs attention more often, and it needs the right kind of attention. If you’ve ever wondered why a neighbor’s door started squealing or sagging sooner than expected, this is usually why.
One more local factor: many Spring Hill garages are attached and unconditioned, so the door and its hardware live in the same humid air as the outdoors. That’s different from a climate-controlled space, and it’s why we treat spring lubrication and seal inspection as recurring tasks rather than once-a-year boxes to tick.
The Spring Hill Garage Door Maintenance Checklist
Here’s the task-by-task schedule we recommend for homes in Spring Hill. Print it, stick it inside the garage, and work down it through the year. Each task is something a careful homeowner can do, with two exceptions noted in the safety section below.
- Every 90 days in summer humidity: Lubricate torsion springs, hinges and rollers with a silicone-based or white lithium lubricant. Humidity peaks make this the most important recurring task on the list. Skip it and you’ll hear the door before you see the problem.
- Every 6 months: Inspect the bottom seal and side weatherstripping for UV cracking, hardening or gaps. Florida sun degrades rubber faster than the national manual assumes.
- Every 6 months: Wipe down tracks with a damp cloth and check for grit buildup. Never grease the tracks themselves – they’re meant to stay clean and dry.
- After heavy rain: Look at the cable drums at the top corners of the door and check that the cables are seated evenly. Wood-framed garages can shift slightly with humidity.
- Monthly: Test the safety reverse. Place a roll of paper towels in the door’s path and close it – the door should reverse on contact. Also test the photo-eye sensors by blocking them with your foot.
- Monthly: Listen. A door that bangs, grinds or squeals is telling you something. Note where the sound comes from and address it before it becomes a repair.
- Once a year: Have a technician balance the door, check spring tension, inspect cables and drums, and confirm the opener’s force settings. This is the one task that belongs with a professional.
That annual professional visit is also the right moment to review your opener. If your unit is a LiftMaster or Chamberlain with MyQ, or a Genie with Aladdin Connect, a technician can confirm the Wi-Fi and safety settings are still correct while the door is being serviced. For a full breakdown of what a service visit covers, see our garage door repair page.
Which Lubricants Work in Florida Heat (and Which to Avoid)
The wrong lubricant is worse than none in this climate. In Spring Hill heat, a thick grease thins, runs, and collects the sandy grit that drifts onto driveways and garage floors. Once grit mixes with grease, it becomes an abrasive paste that wears rollers and hinges faster than dry metal would. So the goal isn’t “more lubrication” – it’s the right lubrication, applied to the right spots.
Use these:
- Silicone-based spray lubricant – stays put, doesn’t attract grit, works well on springs and hinges.
- White lithium grease in a spray can – good for hinges and rollers, holds up in heat.
- A dry PTFE (Teflon) lubricant – clean, non-sticky, ideal for tracks and rollers where you want slick but not greasy.
Avoid these:
- Heavy wheel-bearing or chassis grease – too thick, gums up in heat and traps grit.
- WD-40 as a long-term lubricant – it’s a solvent, not a lasting lubricant, and it strips the protective film off springs.
- Any lubricant on the tracks – tracks should be clean and dry, not greasy. Grease on tracks attracts the exact grit you’re trying to keep out.
- Cooking spray or household oils – they break down quickly in heat and smell worse than they work.
If you’re not sure what’s already on your door’s hardware, wipe a small area with a clean rag. If it comes away greasy and gritty, the old lubricant needs to be cleaned off before you apply anything new. Our technicians carry the right products for every brand we work on, and if you’d rather not handle it yourself, a maintenance visit is the simplest route.
Reading Spring Corrosion Before It Fails
Torsion springs are the hardest-working part of your door, and they’re also the most exposed to humidity. You can catch corrosion early by looking for one specific clue: rust streaking along the spring shaft. When a torsion spring begins to oxidize, rust particles work their way along the shaft and leave reddish-brown streaks on the metal. That streaking is your early-warning signal. It doesn’t mean the spring is about to snap tomorrow, but it does mean the spring is degrading and should be inspected by a professional – not oiled over and forgotten.
Cable drums at the top corners are the other place to watch. After heavy rain, when wood-framed garages absorb moisture and the frame expands slightly, a cable can slip out of its drum groove. Look for a cable that’s riding crooked, crossed over itself, or sitting off the drum instead of neatly in its channel. That’s a sign to stop using the door and get it looked at – a cable that jumps the drum can drop a door fast.
On extension springs – the kind that run alongside the horizontal tracks on older doors – look for gaps between the coils, stretched sections, or a spring that’s lost its shape. Any of those means it’s nearing the end of its working life.
Rust streaking, uneven cables, stretched coils – these are the patterns to recognize. What you should do about them is call a technician. Spring work is the most dangerous repair on a garage door, and we make that point deliberately. Torsion and extension springs are under enormous tension, and a spring that lets go can cause serious injury. Our technicians handle spring repair with the proper winding tools and training, and it’s one of our front-line services rather than an afterthought. For a deeper look at how springs behave in this climate, see our garage door opener repair page, which covers how opener strain often traces back to spring problems.
Weatherstripping on West-Facing Doors
If your garage door faces west, it absorbs direct afternoon sun for five or more hours a day in Spring Hill. That sun cooks the bottom seal and side weatherstripping faster than any other exposure on the house. The pattern is predictable: the sun-facing edge of the bottom seal hardens, cracks and pulls away first, while the shaded side still looks fine. Side weatherstripping on the sunny edge shrinks and gaps before the other side does too.
Inspect for these signs every 6 months:
- Bottom seal that’s stiff, cracked or separated from the door bottom.
- Side weatherstripping pulling away from the frame, especially on the west side.
- Visible daylight under or around the closed door.
- A door that closes but leaves a gap at one corner.
- Water or grit finding its way inside after rain or wind.
Replacing weatherstripping is one of the lower-cost maintenance items on the list, and it protects more than the door – a sealed door keeps heat, humidity and insects out of the garage and the rooms behind it. When the seal fails on a west-facing door, don’t wait for the annual visit. Swap it or have it swapped, then re-check in 6 months. If the gap is uneven, the door may be out of level rather than the seal being worn, and that’s a technician’s call.
Checking Cable Drum Alignment After Heavy Rain
Wood-framed garage openings move slightly with humidity. After a stretch of heavy rain, the lumber around the opening absorbs moisture and expands a little, and the door’s hardware can shift with it. That’s why cable drum alignment is a post-rain check in Spring Hill rather than an annual one. The cable drums sit at the top corners of the door opening, and each drum should have its cable wound evenly in the groove – no crossing, no bunching, no cable sitting outside the channel.
Here’s how to check, safely, without touching the springs or cables under tension:
- With the door fully closed, look up at both top corners.
- Check that each cable sits neatly in its drum groove and winds straight.
- Look for a cable that’s slack, crossed over itself, or sitting off the drum.
- Open and close the door slowly once and watch whether either cable jumps or rides unevenly.
- If anything looks off, stop using the door and call a technician.
If the door is running smoothly and the drums look aligned, there’s nothing to fix – the check takes a minute. If a cable has slipped, don’t run the door “just to see.” A door that comes off its cables can drop without warning. Our team handles off-track and cable issues as part of garage door repair, and we’ll tell you honestly whether it’s a quick realignment or something more.
What You Should Never Adjust Yourself
Most of this checklist is homeowner-friendly. Two things are not, and we’d rather be blunt about it than polite.
Never touch torsion springs, extension springs or their cables. These parts are under extreme tension. A torsion spring holds enough stored energy to seriously injure or kill someone who unwinds it incorrectly, and a snapped spring can whip and strike whatever is nearby. There’s no safe shortcut here. If a spring looks corroded, stretched, broken or simply old, call a professional. Our technicians have up to 8 years of experience and the proper winding bars and safety gear for the job.
Never disable the safety reverse or photo-eye sensors. These are the two systems that stop the door from crushing something in its path. If the door won’t reverse on contact or the sensors won’t register, that’s a repair – not a bypass. A door that closes on a child or a pet is the outcome we’re preventing.
Everything else on the checklist – lubricating, wiping tracks, inspecting seals, testing the reverse – is safe for a careful homeowner. If you’re ever unsure whether a task is safe, err toward calling. A maintenance visit costs far less than an injury, and it’s the whole reason we keep spring repair as a named service rather than something we treat as routine.
Common Mistakes to Avoid
- Following the national manual’s annual lubricating schedule in Spring Hill. Humidity here degrades lubricant in weeks, not months. If you lubricate springs once a year, grit will wear them down before the next service.
- Greasing the tracks. Tracks should be clean and dry. Grease attracts the sandy grit that blows onto Spring Hill driveways and turns the tracks into a grinding surface.
- Ignoring rust streaks on the spring shaft. That streaking is the earliest visible sign of spring corrosion. Oiling over it hides the symptom without fixing the cause.
- Waiting for the bottom seal to leak before replacing it. West-facing doors cook their seals fast in Florida sun. Inspect every 6 months and replace at the first sign of cracking.
- Assuming smooth operation means no problem. A door can run quietly with a nearly-failed spring. That’s why the annual professional balance check matters.
- Using the wrong lubricant. Thick grease, WD-40 or household oils all do more harm than good in this heat. Stick to silicone, white lithium or dry PTFE.
- Skipping the post-rain cable drum check. Wood-framed garages shift with humidity. A quick look after heavy rain catches small alignment issues before they become a door that won’t close.
- Testing the safety reverse with a hand or foot. Use a roll of paper towels, not your body. There’s a reason the manufacturer tells you to test with an object.
Each of these is easy to correct once you know it, which is the whole point of a local checklist. A Spring Hill homeowner following a Phoenix schedule will hit every one of them within a year.
When to Call a Professional
Call a professional if you see rust streaking on the spring shaft, a spring that’s stretched, gapped or visibly broken, a cable that’s jumped its drum, a door that’s off-track, or an opener that won’t reverse or respond. Call if the door runs unevenly, bangs, grinds, or closes with a gap. If a door is stuck open with your car trapped inside or your garage exposed to the street, call and we’ll treat it as an urgent repair – that’s what our emergency service is for. A stuck door hanging open overnight is a security problem as much as a mechanical one.
Spring Hill Garage Door Repair Pros offers free estimates in Spring Hill – call (844) 443-4697. Every price is quoted and agreed before any work starts, so the number you approve is the number you pay. We work on LiftMaster, Chamberlain, Genie, Clopay, Amarr, Wayne Dalton, Craftsman and Raynor systems, so our technicians arrive already familiar with your door and opener instead of guessing on site. If you’re weighing a repair against a full replacement, our garage door installation page lays out the options.
Frequently Asked Questions
Every 90 days during the humid summer months and every 6 months the rest of the year. Spring Hill humidity degrades lubricant faster than the national annual schedule assumes, so a shorter interval keeps springs protected and prevents the gritty buildup that wears them down. If you’d rather have it done properly, call (844) 443-4697 for a maintenance visit.
Rust streaking along the spring shaft is often the earliest visible sign, followed by a gap in the coils or a door that feels heavier than usual. If you spot any of these, don’t keep cycling the door – call a technician. Estimates are free, so it costs nothing to find out.
Yes, bottom seals and side weatherstripping are homeowner-replaceable, but inspect every 6 months on west-facing doors and replace at the first sign of UV cracking. If the gap is uneven even after replacement, the door may be out of level – call (844) 443-4697 and we’ll check the balance.
Disconnect the opener and try lifting the door by hand – a properly balanced door should lift easily and stay open partway. If it drops or fights you, or feels much heavier than it should, the springs or cables need a look. That’s a professional check, not a DIY one. Call (844) 443-4697 for an exact quote.
Yes. Spring Hill humidity accelerates oxidation on springs and cables, swells wood framing enough to shift cable drum alignment, and thins lubricant so it attracts grit. That’s why this checklist runs on shorter intervals than the national manual – the climate here simply works on parts faster.
Call for a maintenance visit rather than waiting. An annual balance and safety check catches spring corrosion, cable wear and opener strain while they’re still small fixes. Once a spring snaps or the door comes off its track, you’re paying for an emergency repair instead. Call (844) 443-4697 – estimates are free and the price is quoted before work starts.
The Bottom Line
The maintenance checklist that matters in Spring Hill isn’t the one printed in your manual. Lubricate springs every 90 days through the humid months, inspect bottom seals and weatherstripping every 6 months – more often on west-facing doors – check cable drum alignment after heavy rain, and have a professional balance and safety-test the whole system once a year. Watch for rust streaking on the spring shaft, use the right lubricants, and never touch springs or cables yourself. If your door’s telling you something, don’t wait for the annual visit. Call Spring Hill Garage Door Repair Pros at (844) 443-4697 for a free estimate.
Written by the team at Spring Hill Garage Door Repair Pros.
See the difference
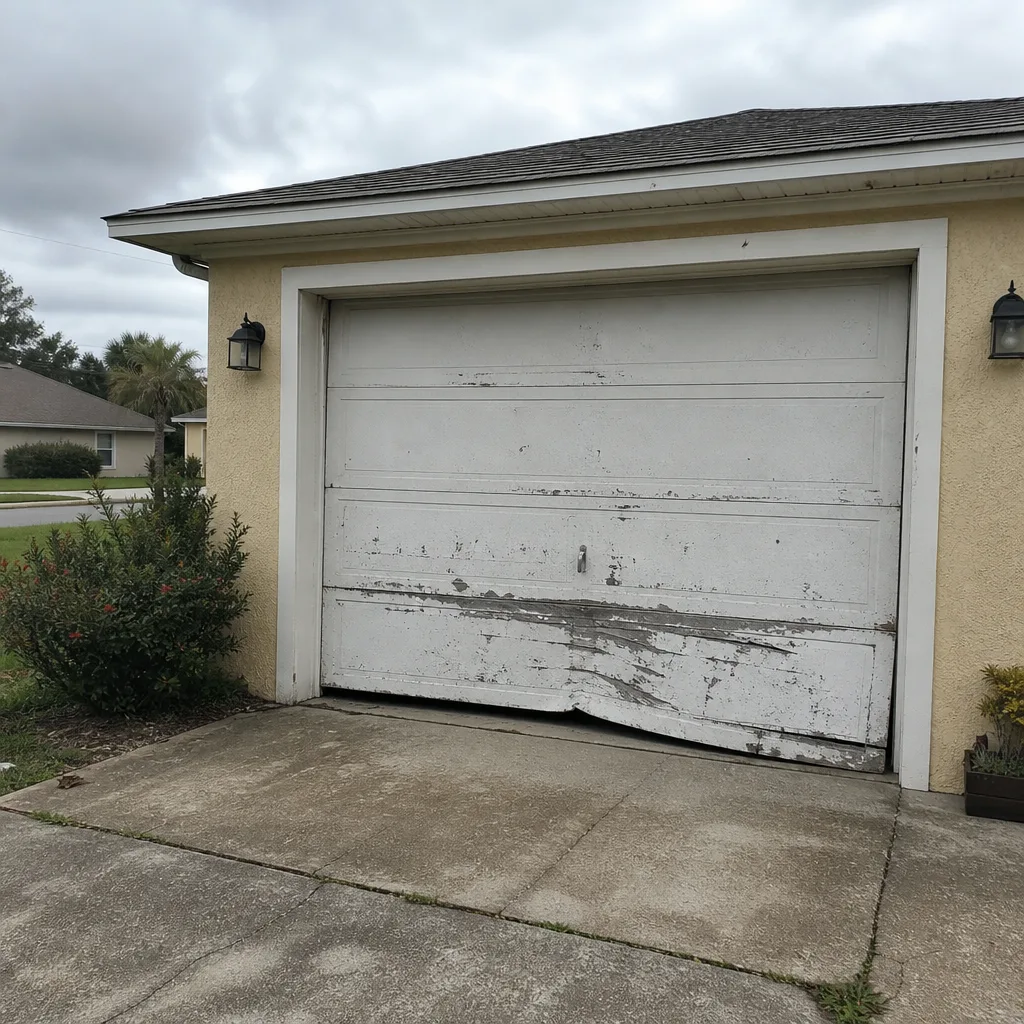 Before
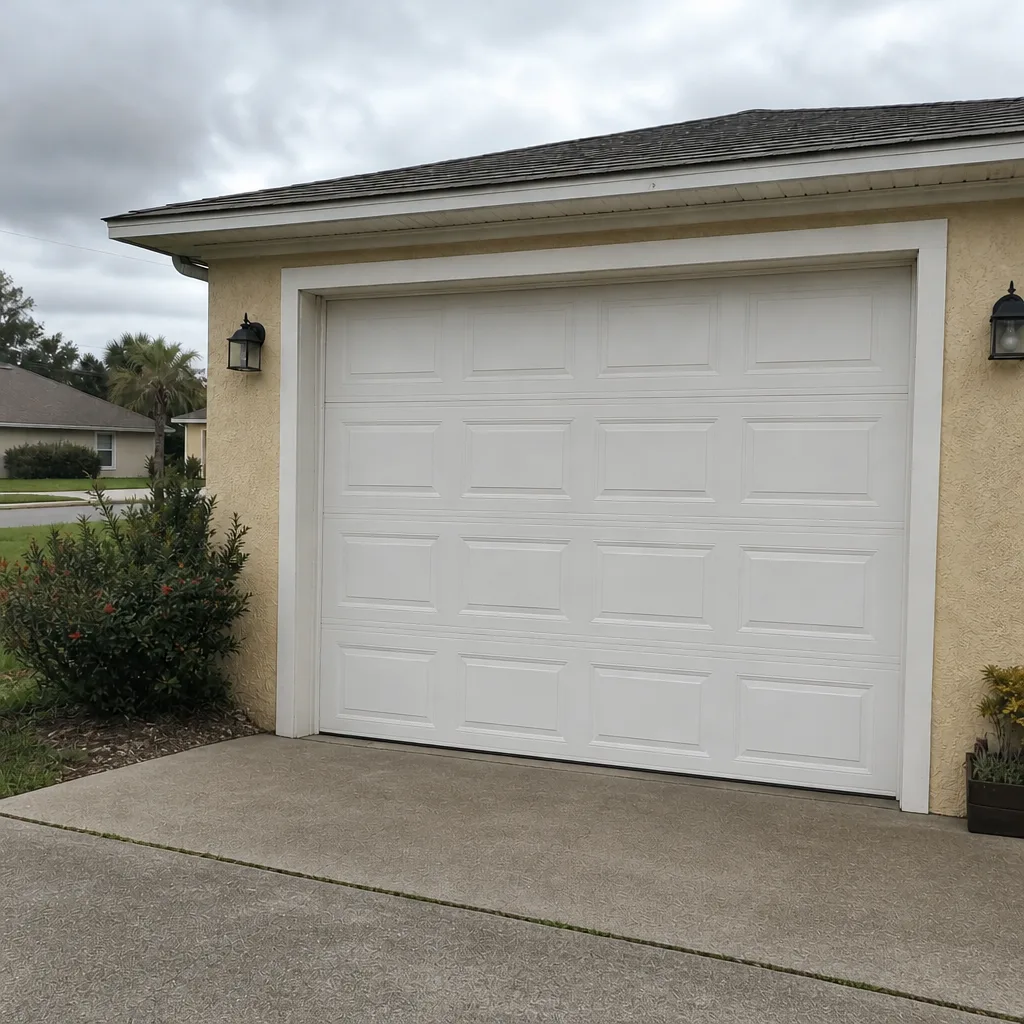 After
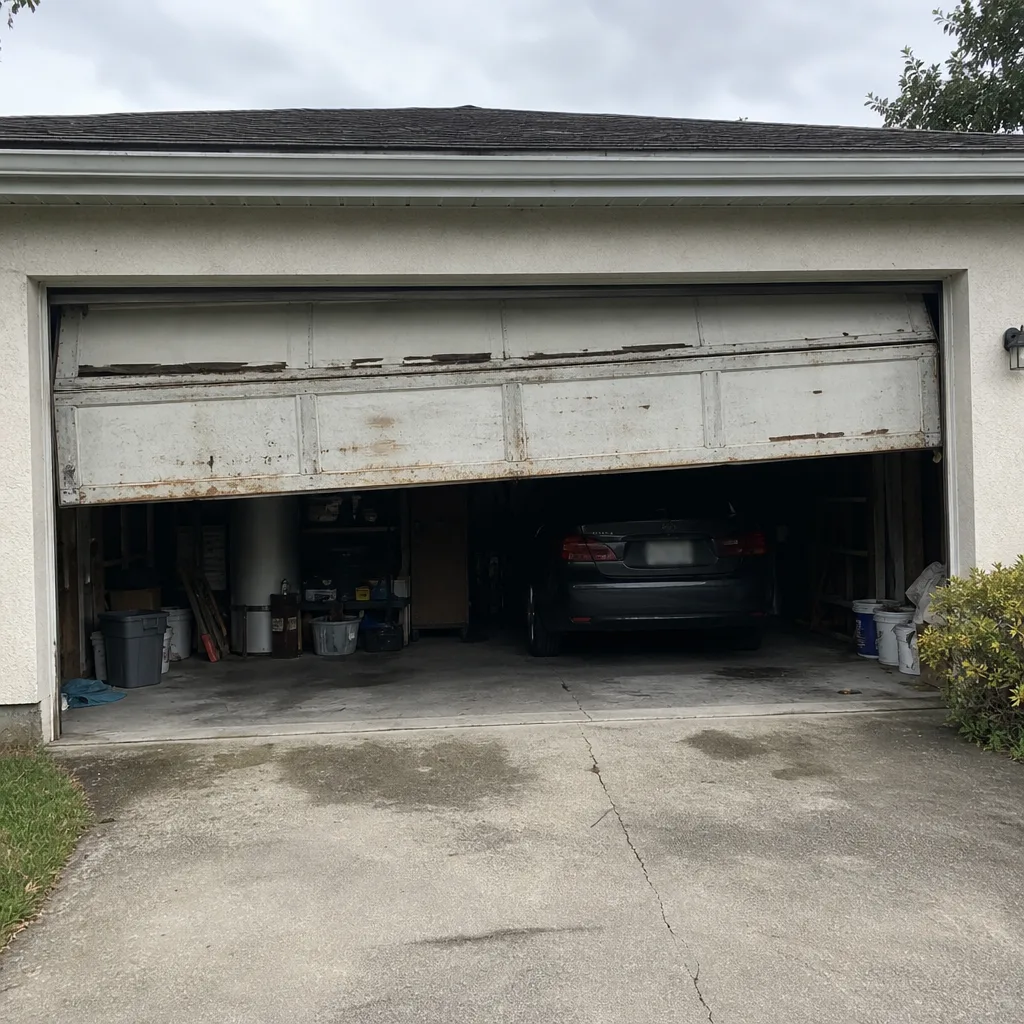 Before
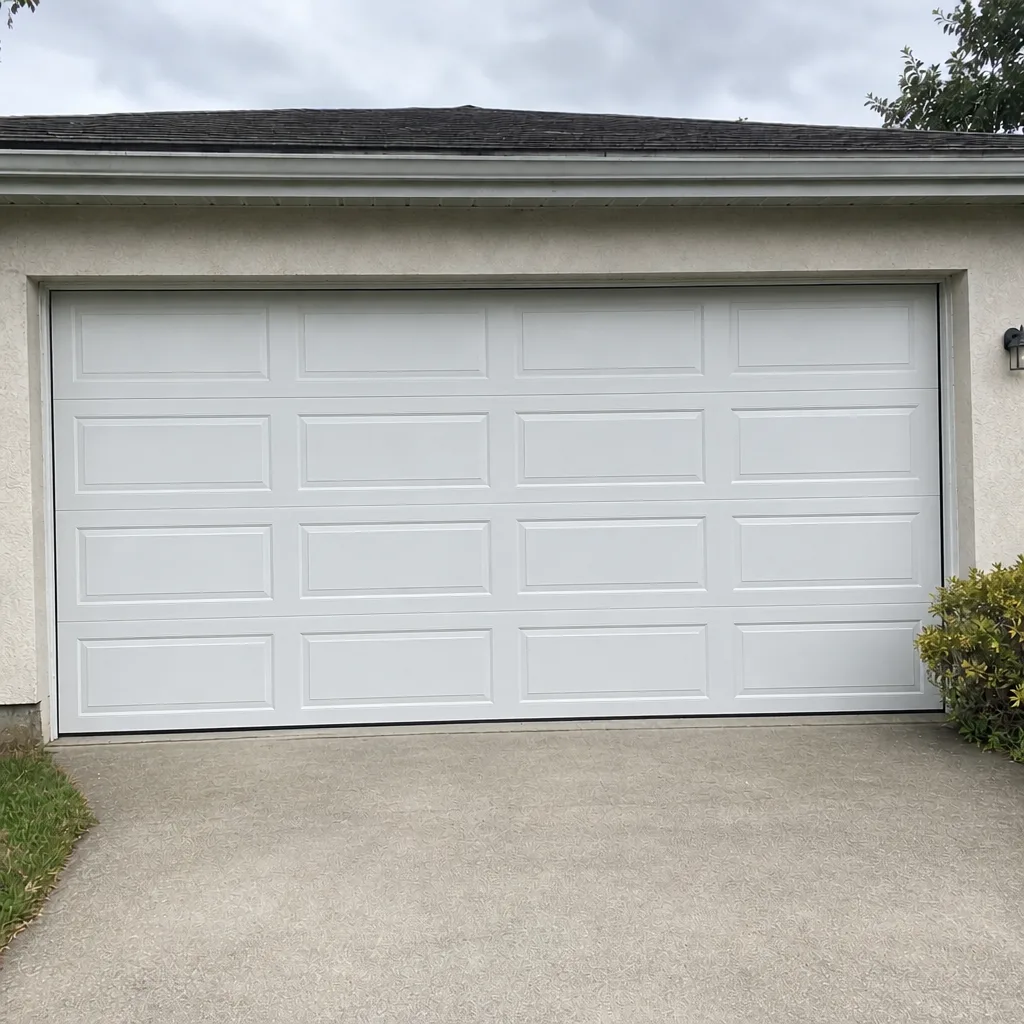 After
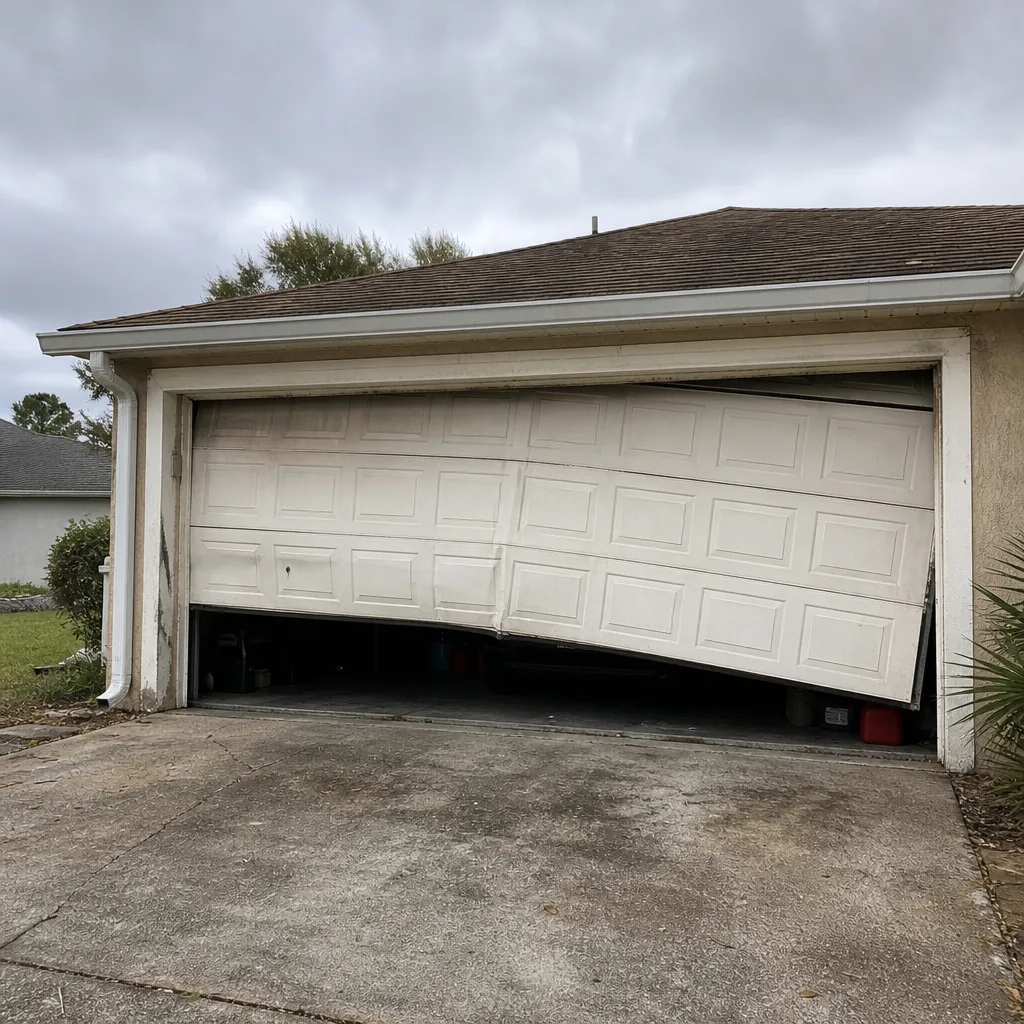 Before
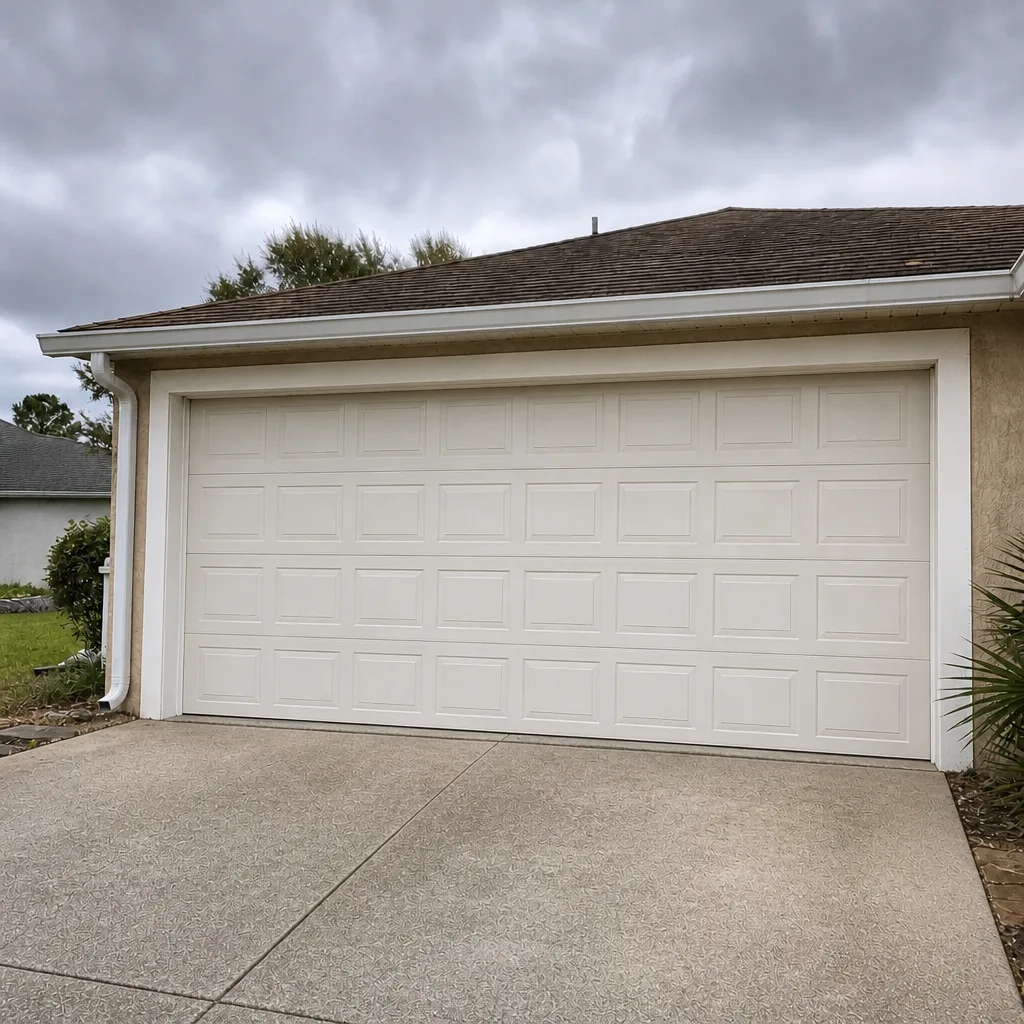 After